...
...
...
...
...
| Table of Contents |
|---|
Overview
Oracle Configuration collects client configuration information and uploads it to the Oracle repository. When client configuration data is uploaded regularly, customer support representatives can analyze this data and provide better customer service.
We are providing steps to integrate your Oracle with Seceon SIEM to have Comprehensive visibility and Proactive Threat Detection in your Environment. There will be a log transfer between your firewall to APE(Analytics and Policy Engine) via CCE (Collection and Control Engine ).
Pre-Requisite
Note: SELinux must be disabled else rsyslog will be denied access to the Oracle logs.
Steps Of Configuration
...
1. Open the /etc/selinux/config file and set the SELINUX mod to disabled:
| Info | ||
|---|---|---|
| ||
# This file controls the state of SELinux on the system. # SELINUX= can take one of these three values: # enforcing - SELinux security policy is enforced. # permissive - SELinux prints warnings instead of enforcing. # disabled - No SELinux policy is loaded. SELINUX=disabled # SELINUXTYPE= can take one of these two values: # targeted - Targeted processes are protected, # mls - Multi Level Security protection. SELINUXTYPE=targeted |
2. Save the file and reboot your CentOS Rocky Linux system with:
sudo
...
shutdown
...
-r
...
now
3. Once the system boots up, verify the change with the sestatus command:
...
4. The output should look like this:
SELinux
...
status:
...
disabled
...
RSyslog Setup
Log in to the Oracle server as root.
Run the command : vi /etc/rsyslog.conf
Add the lines as below:
| Info |
|---|
$ModLoad imfile Add $InputFileName rdbms\orcl\orcl\trace Add $InputFileTag oracle_logs Add $InputFileStateFile state-oracle-access Add $InputRunFileMonitor After adding, configure CCE-IP at the end of file: # ### end of the forwarding rule ### |
In the place of CCE IP put you actual CCE IP
| Info |
|---|
Verification
Verification through UI
STEP1: Login to UI >> SYSTEM>> LOGS AND FLOWS COLLECTION STATUS .
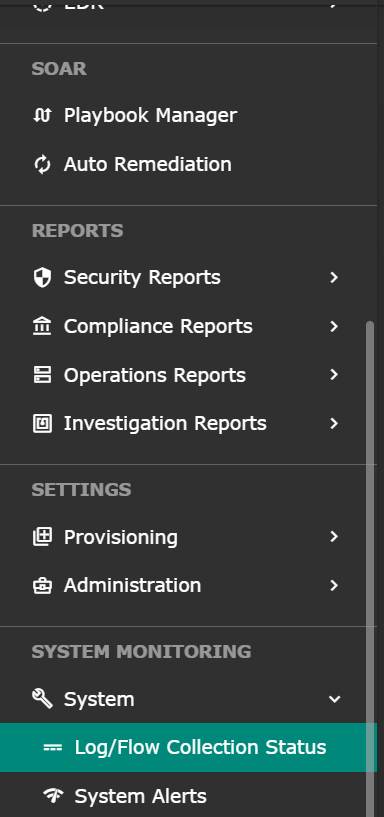
STEP 2: >> LOGS AND FLOWS COLLECTION STATUS .

Verification through CCE sever
Login to the server as seceon user and run the below command
sudo tcpdump -i any host 514 and host <IP address> -AAA”
Related articles
| Filter by label (Content by label) | ||||||||||||||||||
|---|---|---|---|---|---|---|---|---|---|---|---|---|---|---|---|---|---|---|
|
...